Thermoelectric Cloud Chamber
Many years ago me and my dad set out to try and build a cloud chamber, there were a number of guides, videos and Instructables online. We opted for the TEC approach because we didn't have access to dry-ice and I liked the idea of just being able to switch it on at a whim rather than being a one-off
Ultimately our attempts failed and looking back I think this was for a few reasons. Firstly was the choice of stacking TECs, this allows a lower temperature but is harder to get right, second was that we didn't control the current to the TECs, we just used the 12v and 5v rails of an old ATX PSU, lastly I think the cooler was inadequate, this was probably exacerbated by running the TECs waaay too hard.
Fast-forward about 20 years and I happened across a video from The Thought Emporium , it's great channel well worth subscribing, they were building the same thing and taking the same approach as we did. Naturally theirs worked beautifully.
Re-inspired by this, and a little better equipped than before, I thought I would give it another go. This time I did things a little differently.
Little Changes
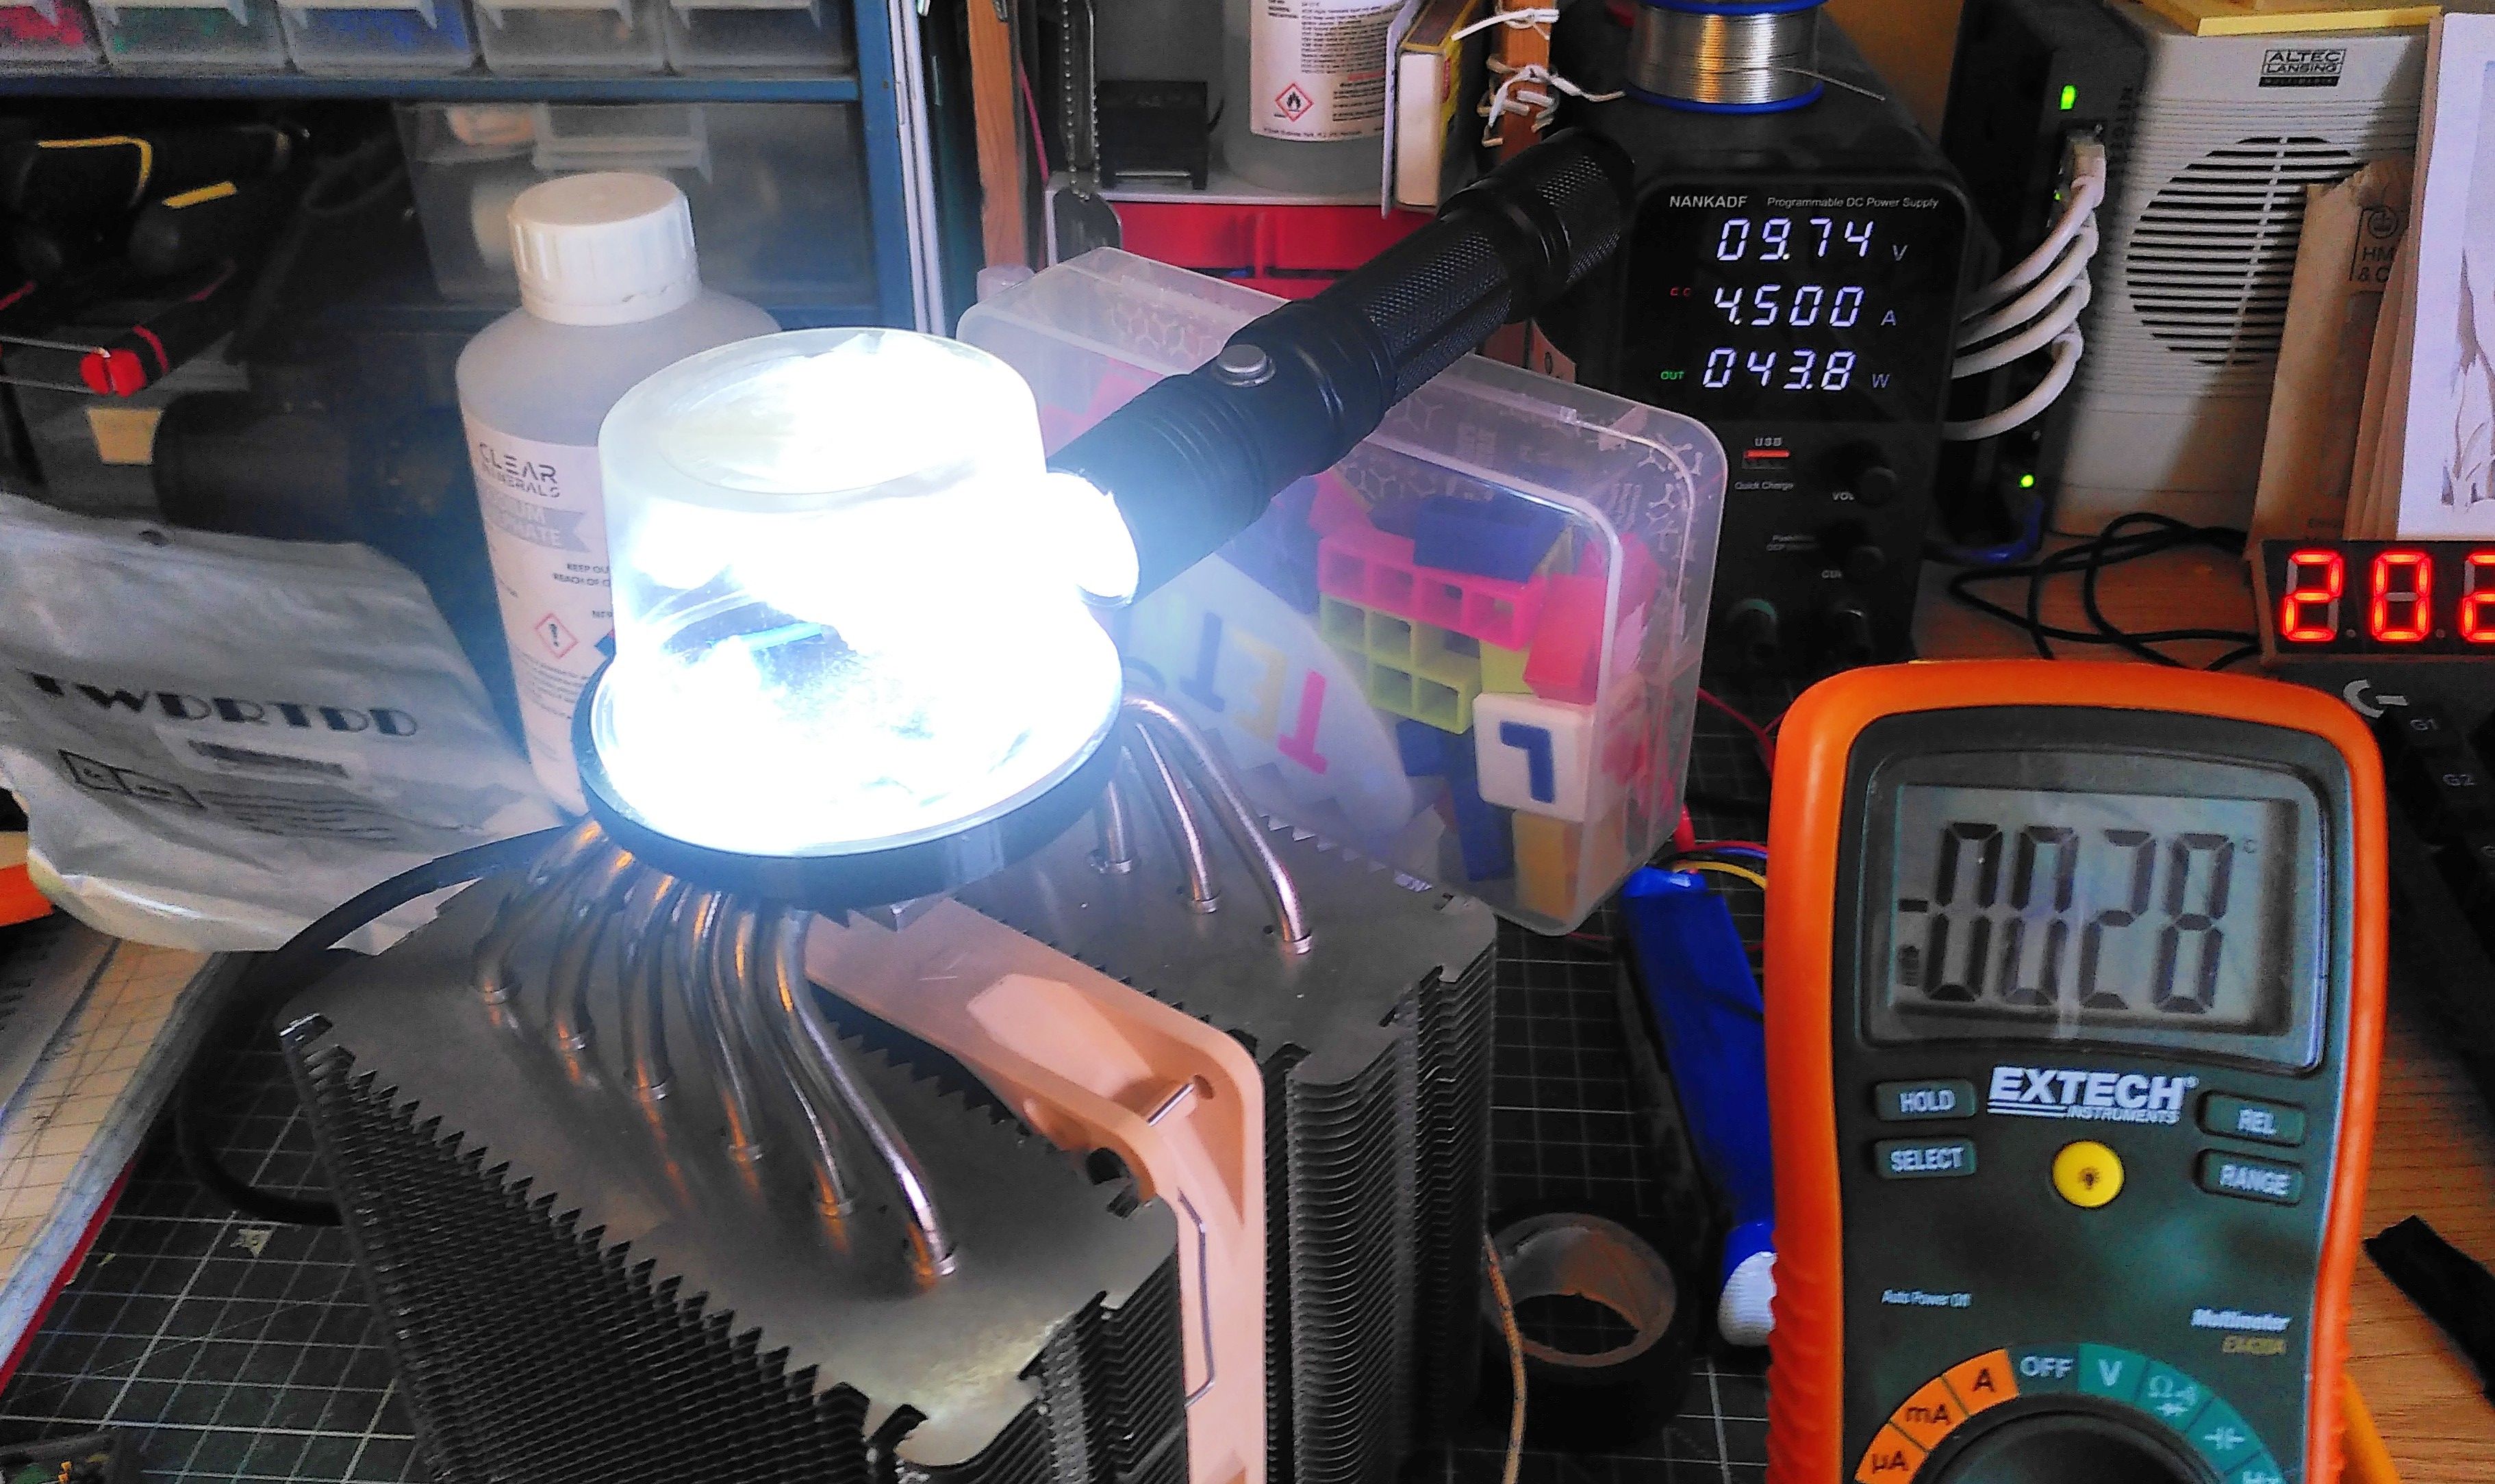
Firstly I used a TEC2‑25408, this is a single module but contains two stacked TECs. This meant I only had to control one voltage rail and it eliminated a thermal interface reducing thermal resistance.
Secondly I used a much bigger cooler, namely the Noctua NH-D14, this thing has a massive surface area. This is crucial, not because the TEC puts out many watts (only about ~45W) but because I need to keep the surface of the TEC as close to ambient as possible. See this Stack Exchange question for more details.
Third was to use an adjustable bench PSU, this gave me control over both the voltage and current going into the TEC. I was able to achieve and maintain the required -26C and colder with minimal wattage, and therefore minimal thermal output for the cooler to deal with. With my setup I needed around 32W (8v/4A) to get down to temperature.
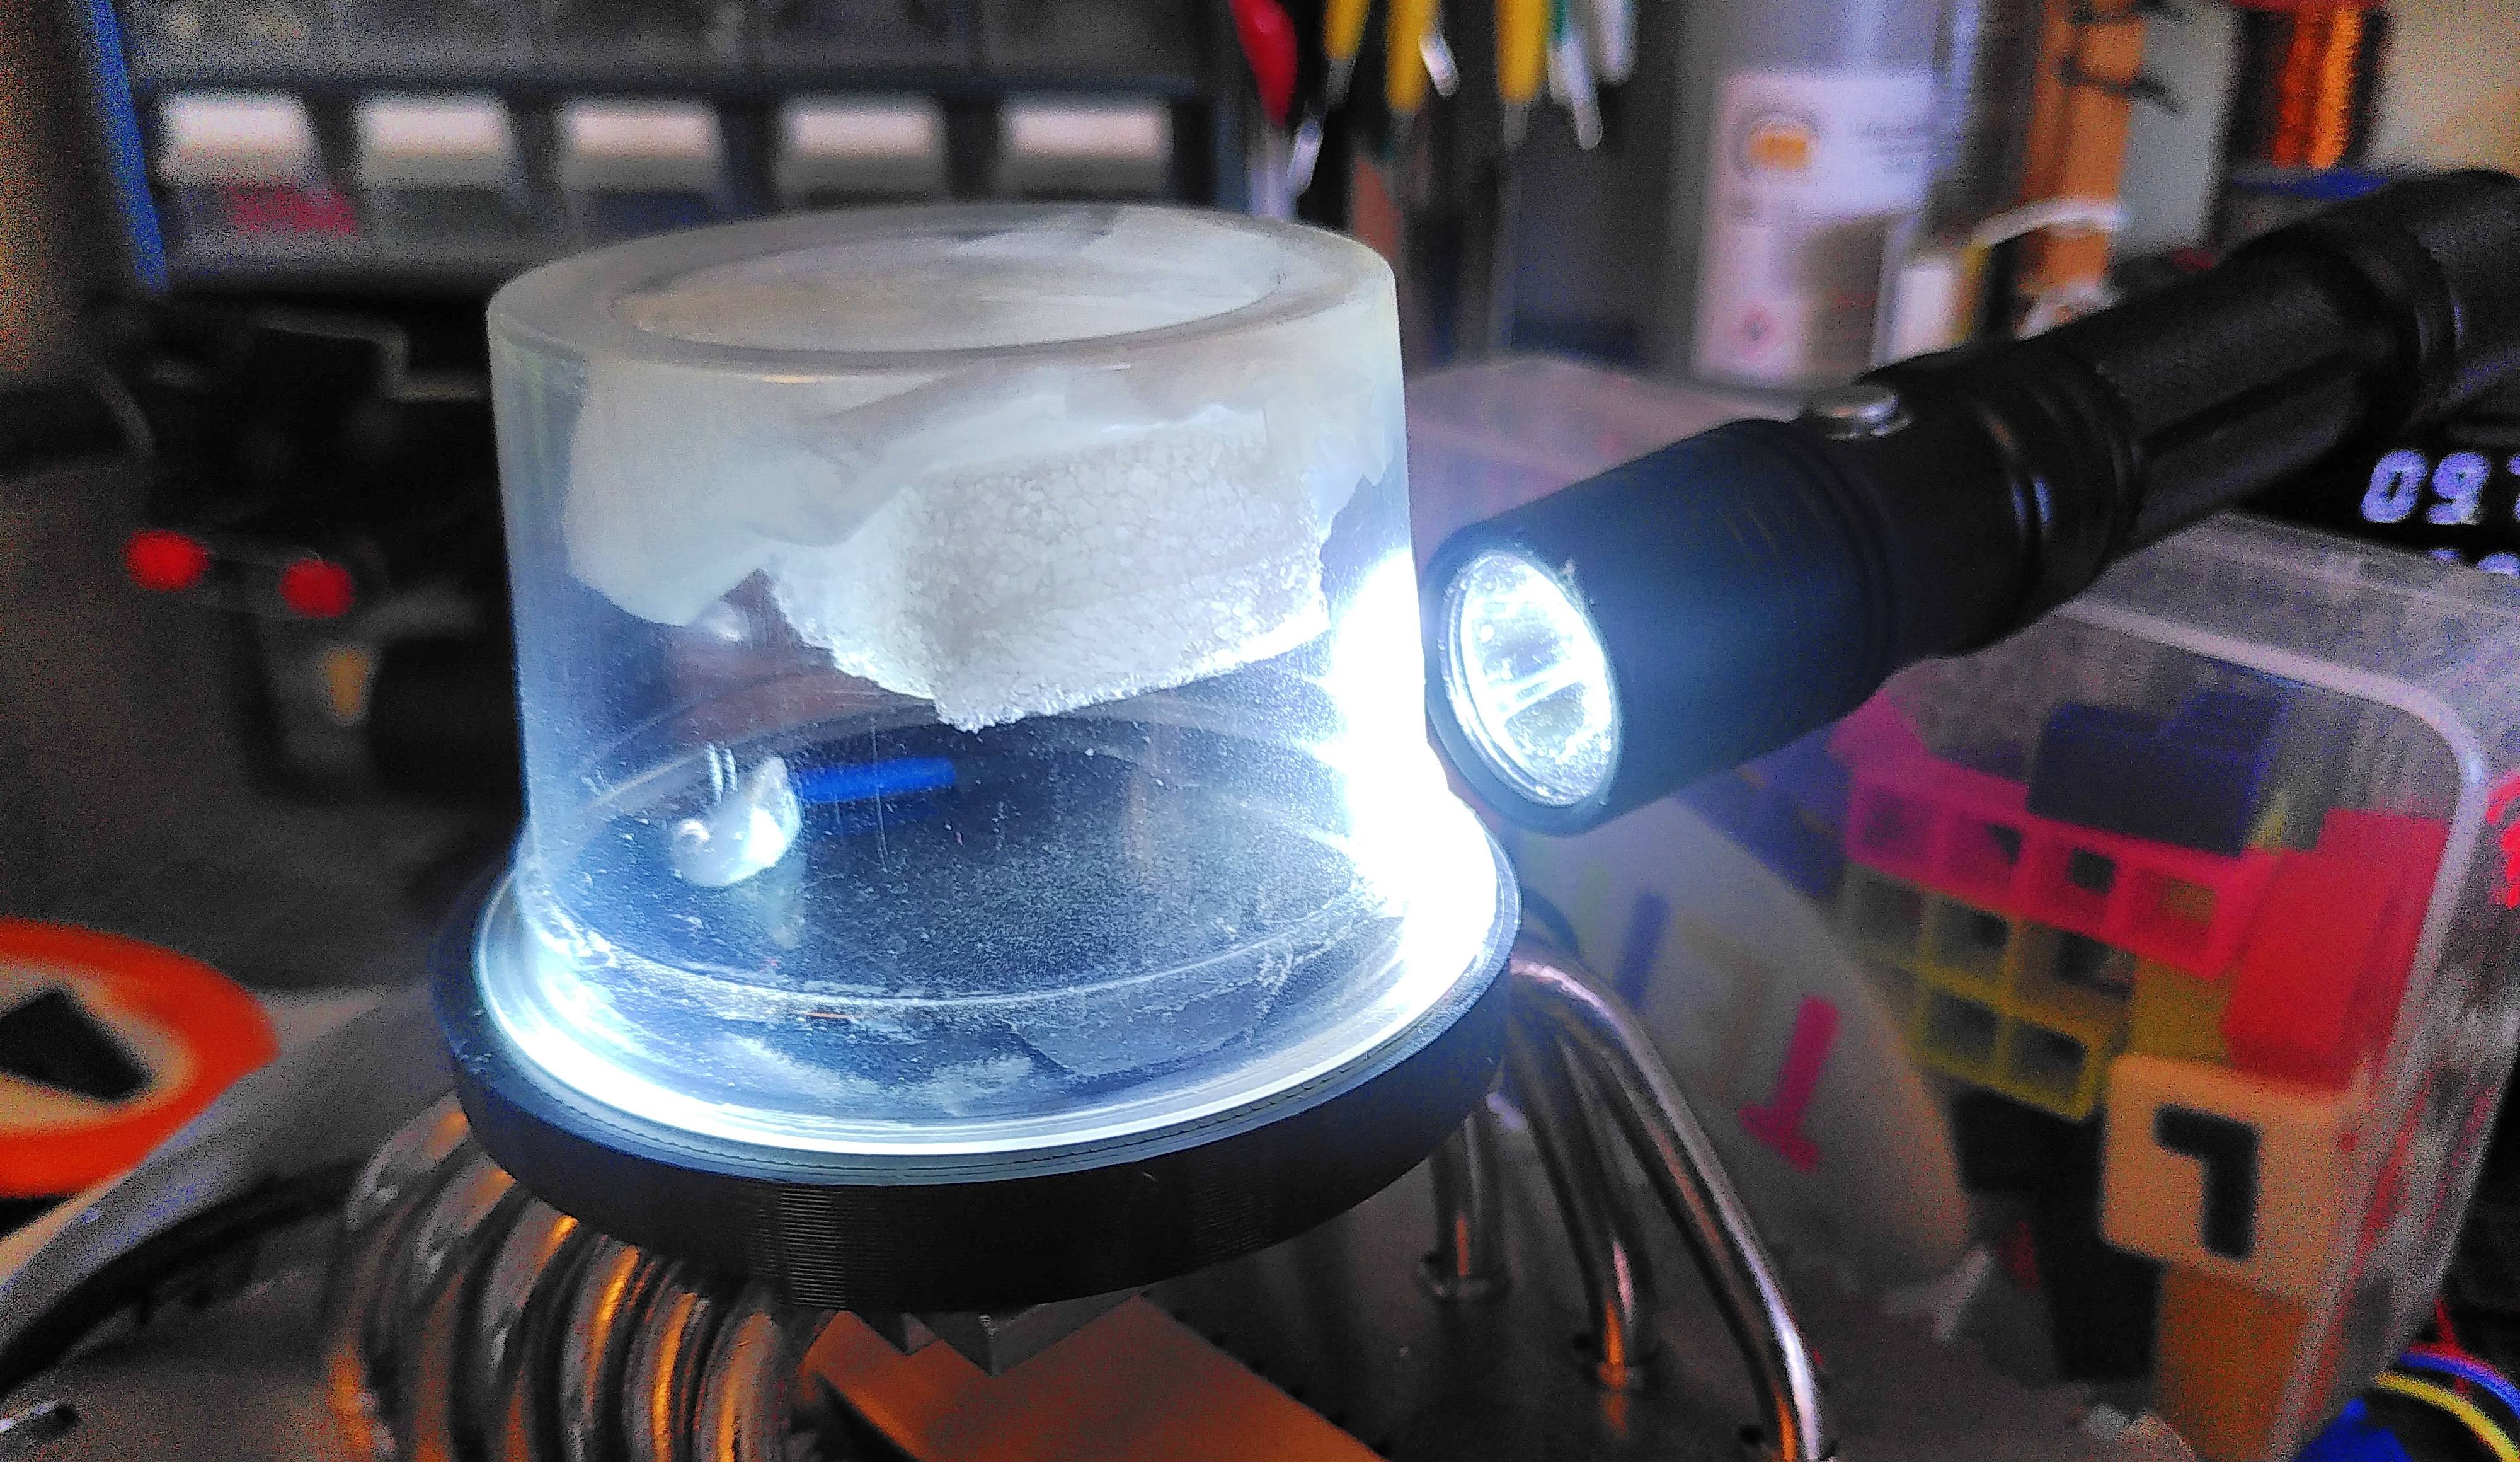
Lastly a powerful light placed at just the right angle, the trails need to backlight to really highlight them. I used a Thrunite TN12 LED torch but any powerful directional light source should work.
One Final Piece Of The Puzzle...
I started seeing the trails, this was so exciting, I help but grin from ear to ear. I could see tracks of single electrons/helium nuclei!! Science is cool 😁
There was still something wrong though, the trails were weedy and inconsistent, there were times when it showed no trails at all. I went back to the video, the only thing which was different was they were using a high-voltage source. I had done some research on this it appears to be a phenomenon which is poorly understood and there were sources which claimed that it wasn't necessary.
I showed the cloud chamber to my partner when I had some of the trails showing and mentioned the issue with a high-voltage source, she then proceeded to brushed her long hair against a knitted jumper to generate some static electricity. Upon getting close to the chamber the trails light up! This was how it was supposed to be, this was how it looked in all the videos and pictures I'd seen, it was working!!
Radioactive Sources
The source I was using was a piece of Americium from an old smoke detector. This is specifically Am241. I might try and get some Thoriated welding rods or some pieces of Fiesta ware in the future...
γ Rays
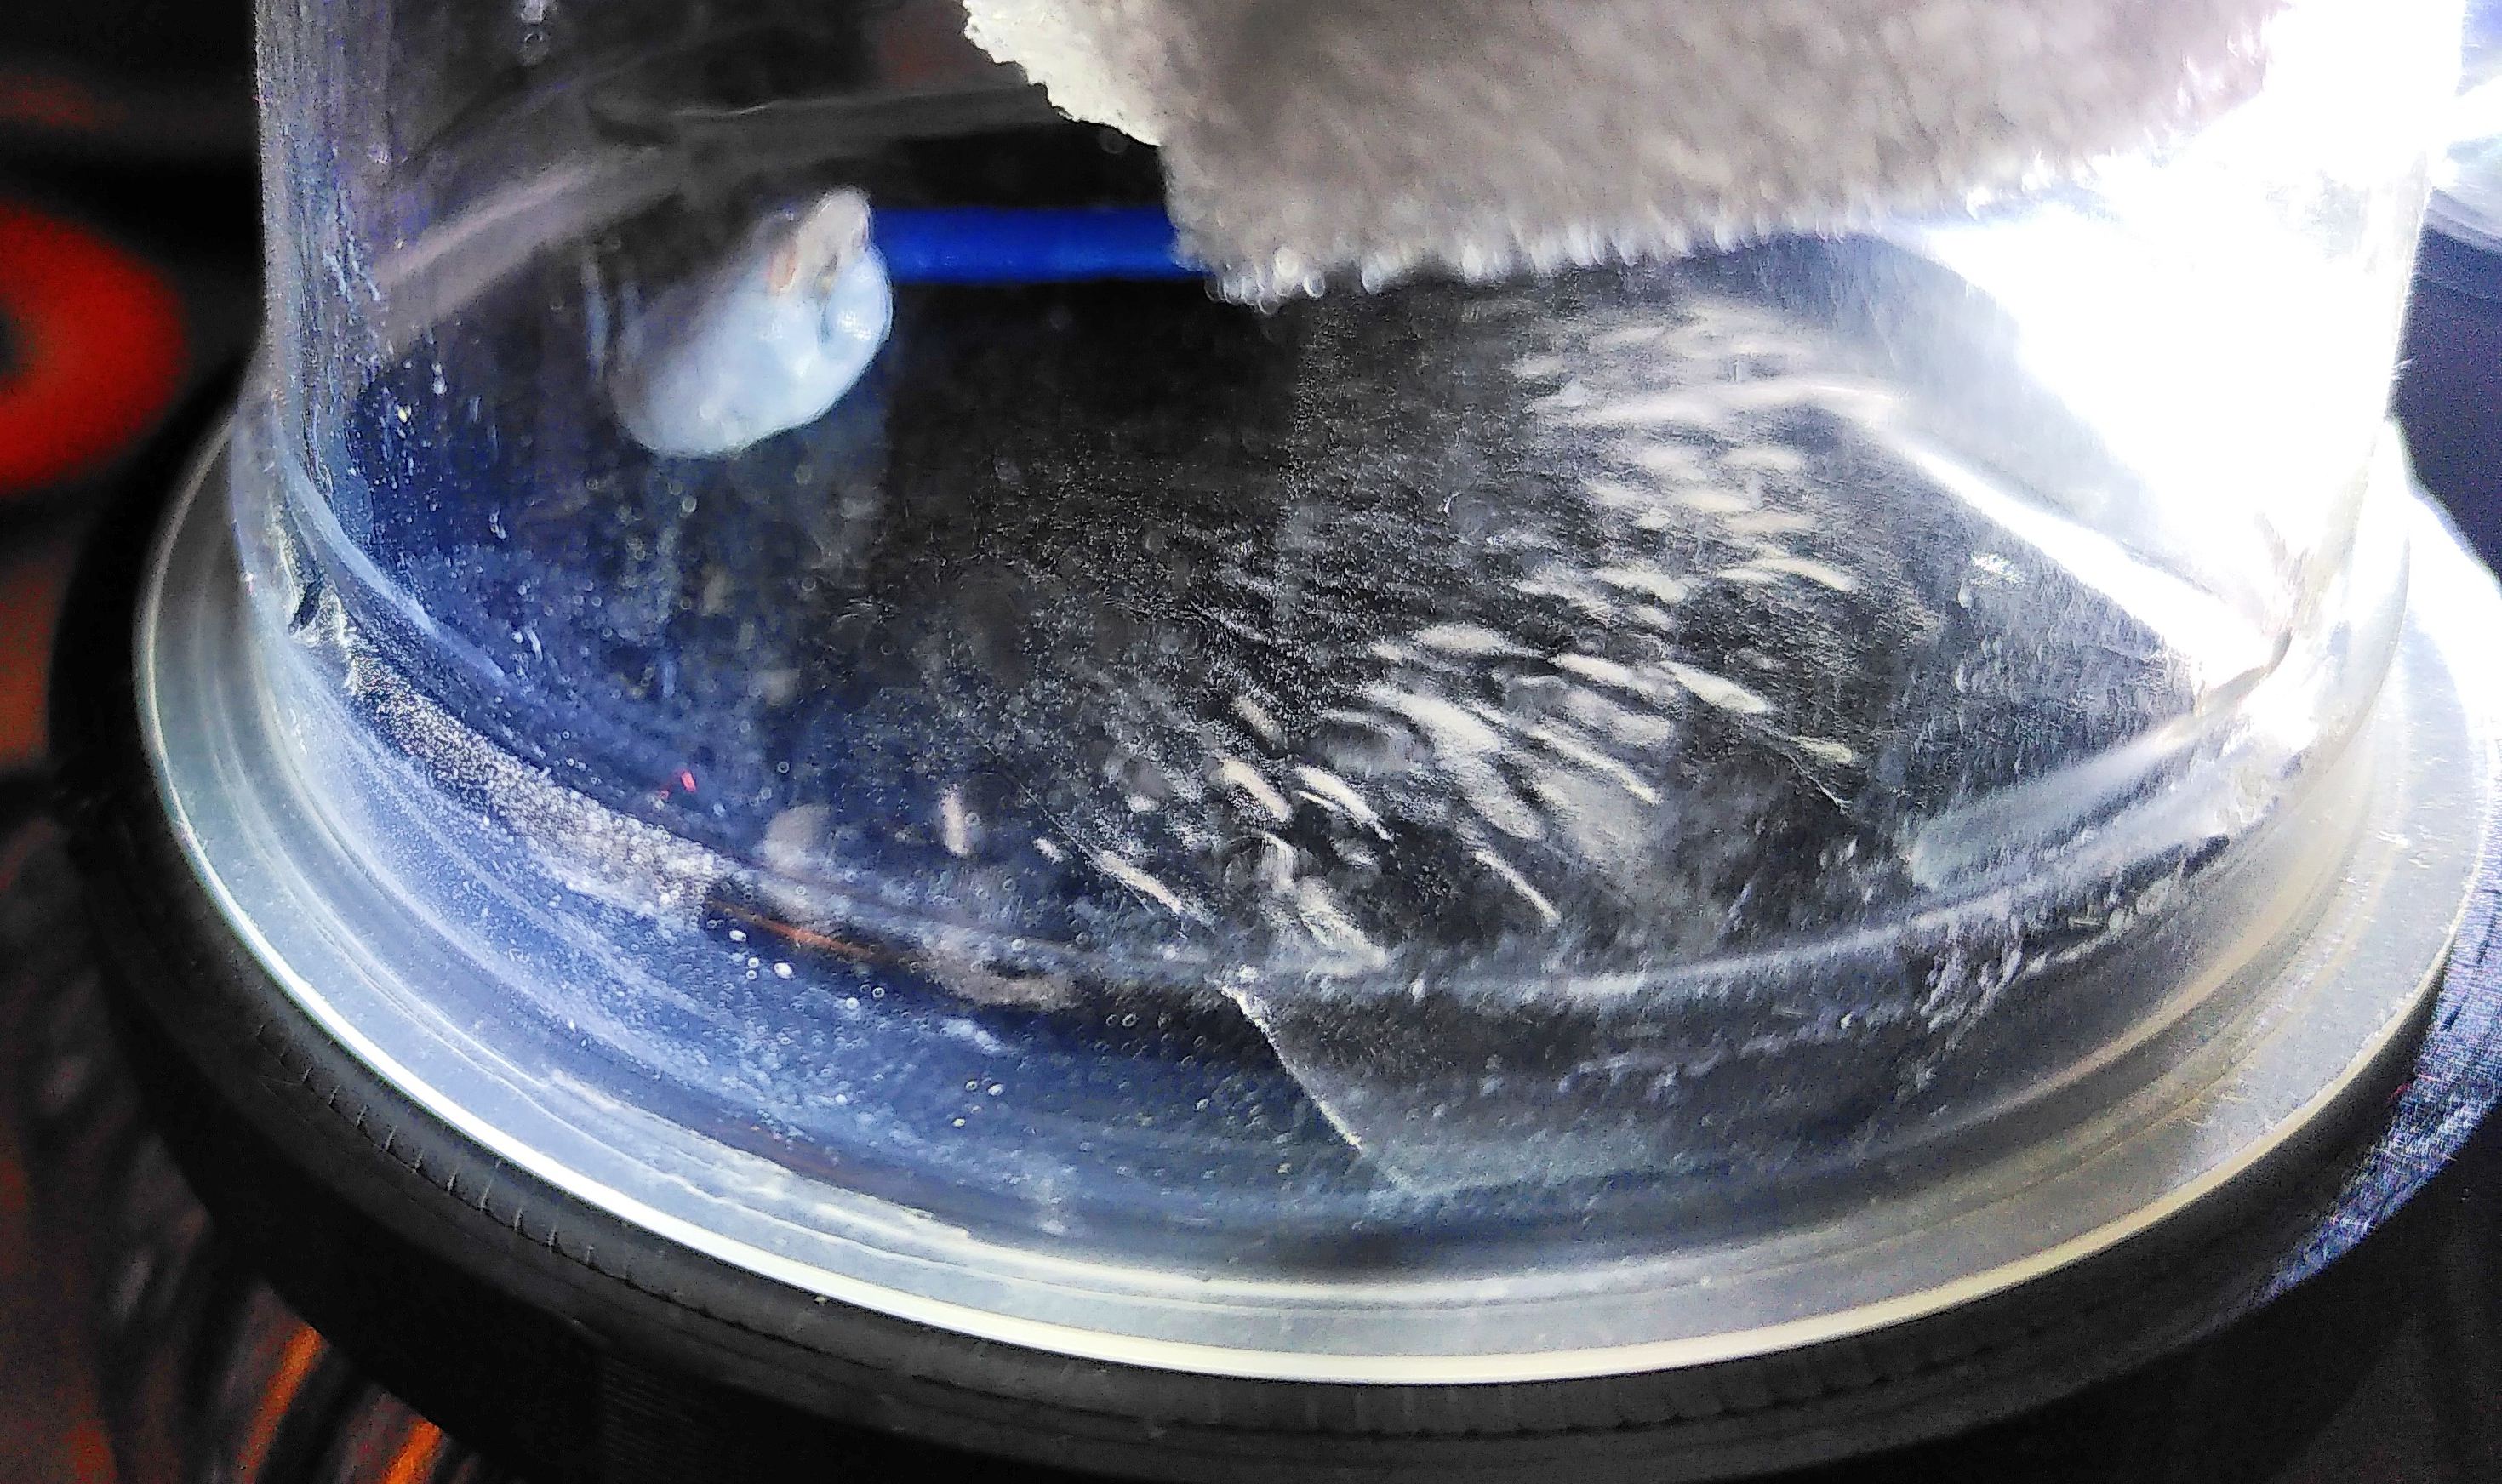
Something I noticed while debugging why the trails weren't showing up was that after a while the radioactive source had become coated in IPA. I theorised that because the source was primarily an alpha emitter that the IPA was blocking the output, I was right, but it's only primarily an alpha emitter.
The IPA was actually acting as a filter, blocking the alpha particles but allowing most of the gamma rays to pass through. The gamma rays leave much smaller trails, they are also emitted less frequently, these two things together meant that they couldn't be seen amongst the trails of the alpha particles.
3D Printed Parts
The base was designed in OpenSCAD and 3D printed in PLA.
$fn=80;

module cooler() {
    difference() {
        union() {
            translate([0,0,4.5/2]) {
                cube([60,45,4.5], center=true);

                translate([0,0,(3.1/2)+(4.5/2)]) {
                    cube([42.2,45,3.1], center=true);
                    translate([0,0,7.8/2]) cube([40,41.5,7.8], center=true);
                }
            }
            //wires
            translate([-18,30,(7+4.5)/2]) cube([4,25,(7+4.5)], center=true);
            translate([18,30,(7+4.5)/2]) cube([4,25,(7+4.5)], center=true);

            // junction jumper
            translate([0,20,(7+4.5)/2]) cube([12,10,(7+4.5)], center=true);

            // heat pipes
            translate([0,24,(2+4.5)/2]) cube([40,60,(2+4.5)], center=true);
            translate([0,-24,(2+4.5)/2]) cube([40,60,(2+4.5)], center=true);
        }
        translate([24,35/2,-1]) cylinder(d=3.5,h=100);
        translate([-24,35/2,-1]) cylinder(d=3.5,h=100);
        translate([-24,-35/2,-1]) cylinder(d=3.5,h=100);
        translate([24,-35/2,-1]) cylinder(d=3.5,h=100);
    }
}

//%cooler();

difference() {
    translate([0,0,4.6]) cylinder(d=75,h=9.3);
    scale(1.02) cooler();

    translate([24,35/2,-1]) cylinder(d=3.5,h=100);
    translate([-24,35/2,-1]) cylinder(d=3.5,h=100);
    translate([-24,-35/2,-1]) cylinder(d=3.5,h=100);
    translate([24,-35/2,-1]) cylinder(d=3.5,h=100);
}