DIY NAS Part 1: The Enclosure
This is part 1 of the project, see here for the other parts.
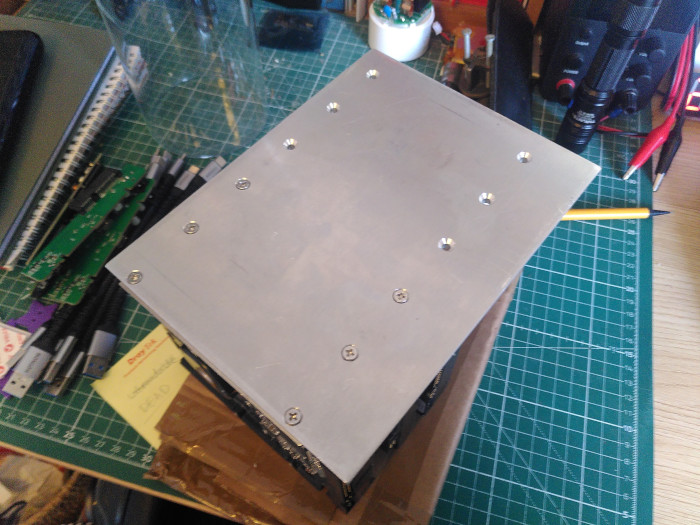
I thought I would 3d print the HDDs mounts, but it all ended up being too large for my small printer. I opted instead to order a pair of 6mm Aluminium plates. This had the added benefit of acting as a heat sink, not that I'm expecting sleeping drives to get hot.
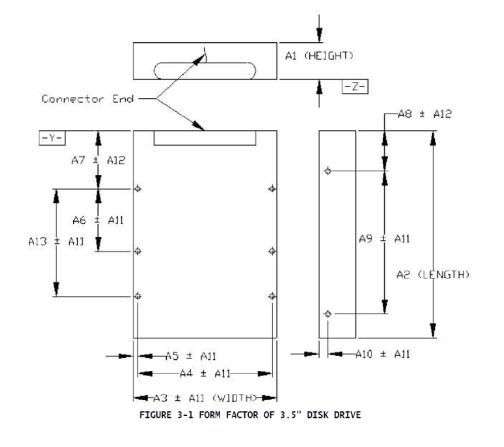
I took my time marking it all out precisely and accurately. It helped that I found an official spec from Western Digital for the placement of the mounting screws so didn't need to rely on taking my own measurements.
I stuck both plates together with double-sided tape to ensure that the holes in the plates would align with one another. It also meant drilling half as many holes. Next time I'll use much less tape, I had to heat the plates up to well above 100C before it let go.
I was very pleased, surprised even, at how well it turned out. All the screws went in without any trouble.